Quick answer
Start with the platform you can actually use, choose the smallest setup that can run for an hour without failing, and test audio before you touch overlays or extras. If you only have a phone, a weak laptop, or a basic PC, you need a different first path, not a bigger budget. The safest launch is the one that survives three test streams before you go public.
If you want the shortest honest version of basic streaming setup, it is this: do not build a studio first and then hope a stream appears. Build one working path, prove that it holds, and only then add polish. That order saves money, and it also saves you from the most common beginner trap, buying gear to feel ready instead of going live with something stable.
What starting to stream actually requires
The first mistake beginners make is treating streaming like a shopping list. That is why they compare capture cards, lights, and overlays before they know whether the stream can even run cleanly. A stream that dies in minute ten is not a production problem; it is a launch problem.
Your real goal is simple: get one stream online, keep it stable, and make the audio understandable enough that people do not have to guess what you said. That sounds modest, but it is the difference between a first broadcast that teaches you something and a first broadcast that turns into a repair session.
In practice, you need four things: a platform, a device that can stay live, a microphone that does not sound like a hallway, and a plan for what you will show or say. Everything else, RGB, stream decks, fancy overlays, multi-cam layouts. Is an upgrade. If you buy them first, you usually spend hours setting them up and still end up with the same weak first stream.
The minimum viable goal
Minimum viable does not mean cheap for the sake of cheap. It means the smallest setup that lets you stream for about 60 minutes without the session collapsing. If your setup cannot do that, you are not ready to improve the stream. You are still trying to make it usable.
That is why the first benchmark is not “does it look professional?” It is “does it stay live, does the voice stay clear, and does the viewer understand the point quickly?” If those three things work, you have a starting point.
What you do not need yet
You do not need a studio, a full lighting kit, a capture card for every device, animated overlays, or a stack of plugins. Those tools matter later, once the format is proven. Before that, they mostly create delay.
You also do not need to optimize for perfection on day one. A clean, stable, slightly plain stream beats a stream with more visual polish but broken audio, bad timing, or constant technical noise. The first version is supposed to reveal problems, not hide them.
Choose your starting path before you buy anything
Beginners are not all starting from the same floor. One person has only a phone. Another has a weak laptop that overheats under load. A third already has a decent PC but no idea how to keep the stream simple. Copying the wrong path is how you waste a weekend and still do not launch.
The cleanest way to move is to match the setup to the device you already trust. That is also where your first how to become a streamer decision starts: not with identity, but with constraints. Your device class tells you how ambitious the first stream can be.
Phone-only path
If the phone is your only reliable device, start there. Use it to test speaking rhythm, topic fit, and camera comfort before you spend a dollar on more gear. Phone-first is good for vertical broadcasts, casual talk streams, creator Q&A sessions, and low-friction audience tests.
This path breaks down when your stream depends on screen sharing, scene switching, or detailed desktop work. In that case, the phone is a valid starting tool, not the final setup. That distinction matters because many beginners keep forcing a phone to do a job it was never meant to do.
Low-budget PC or laptop path
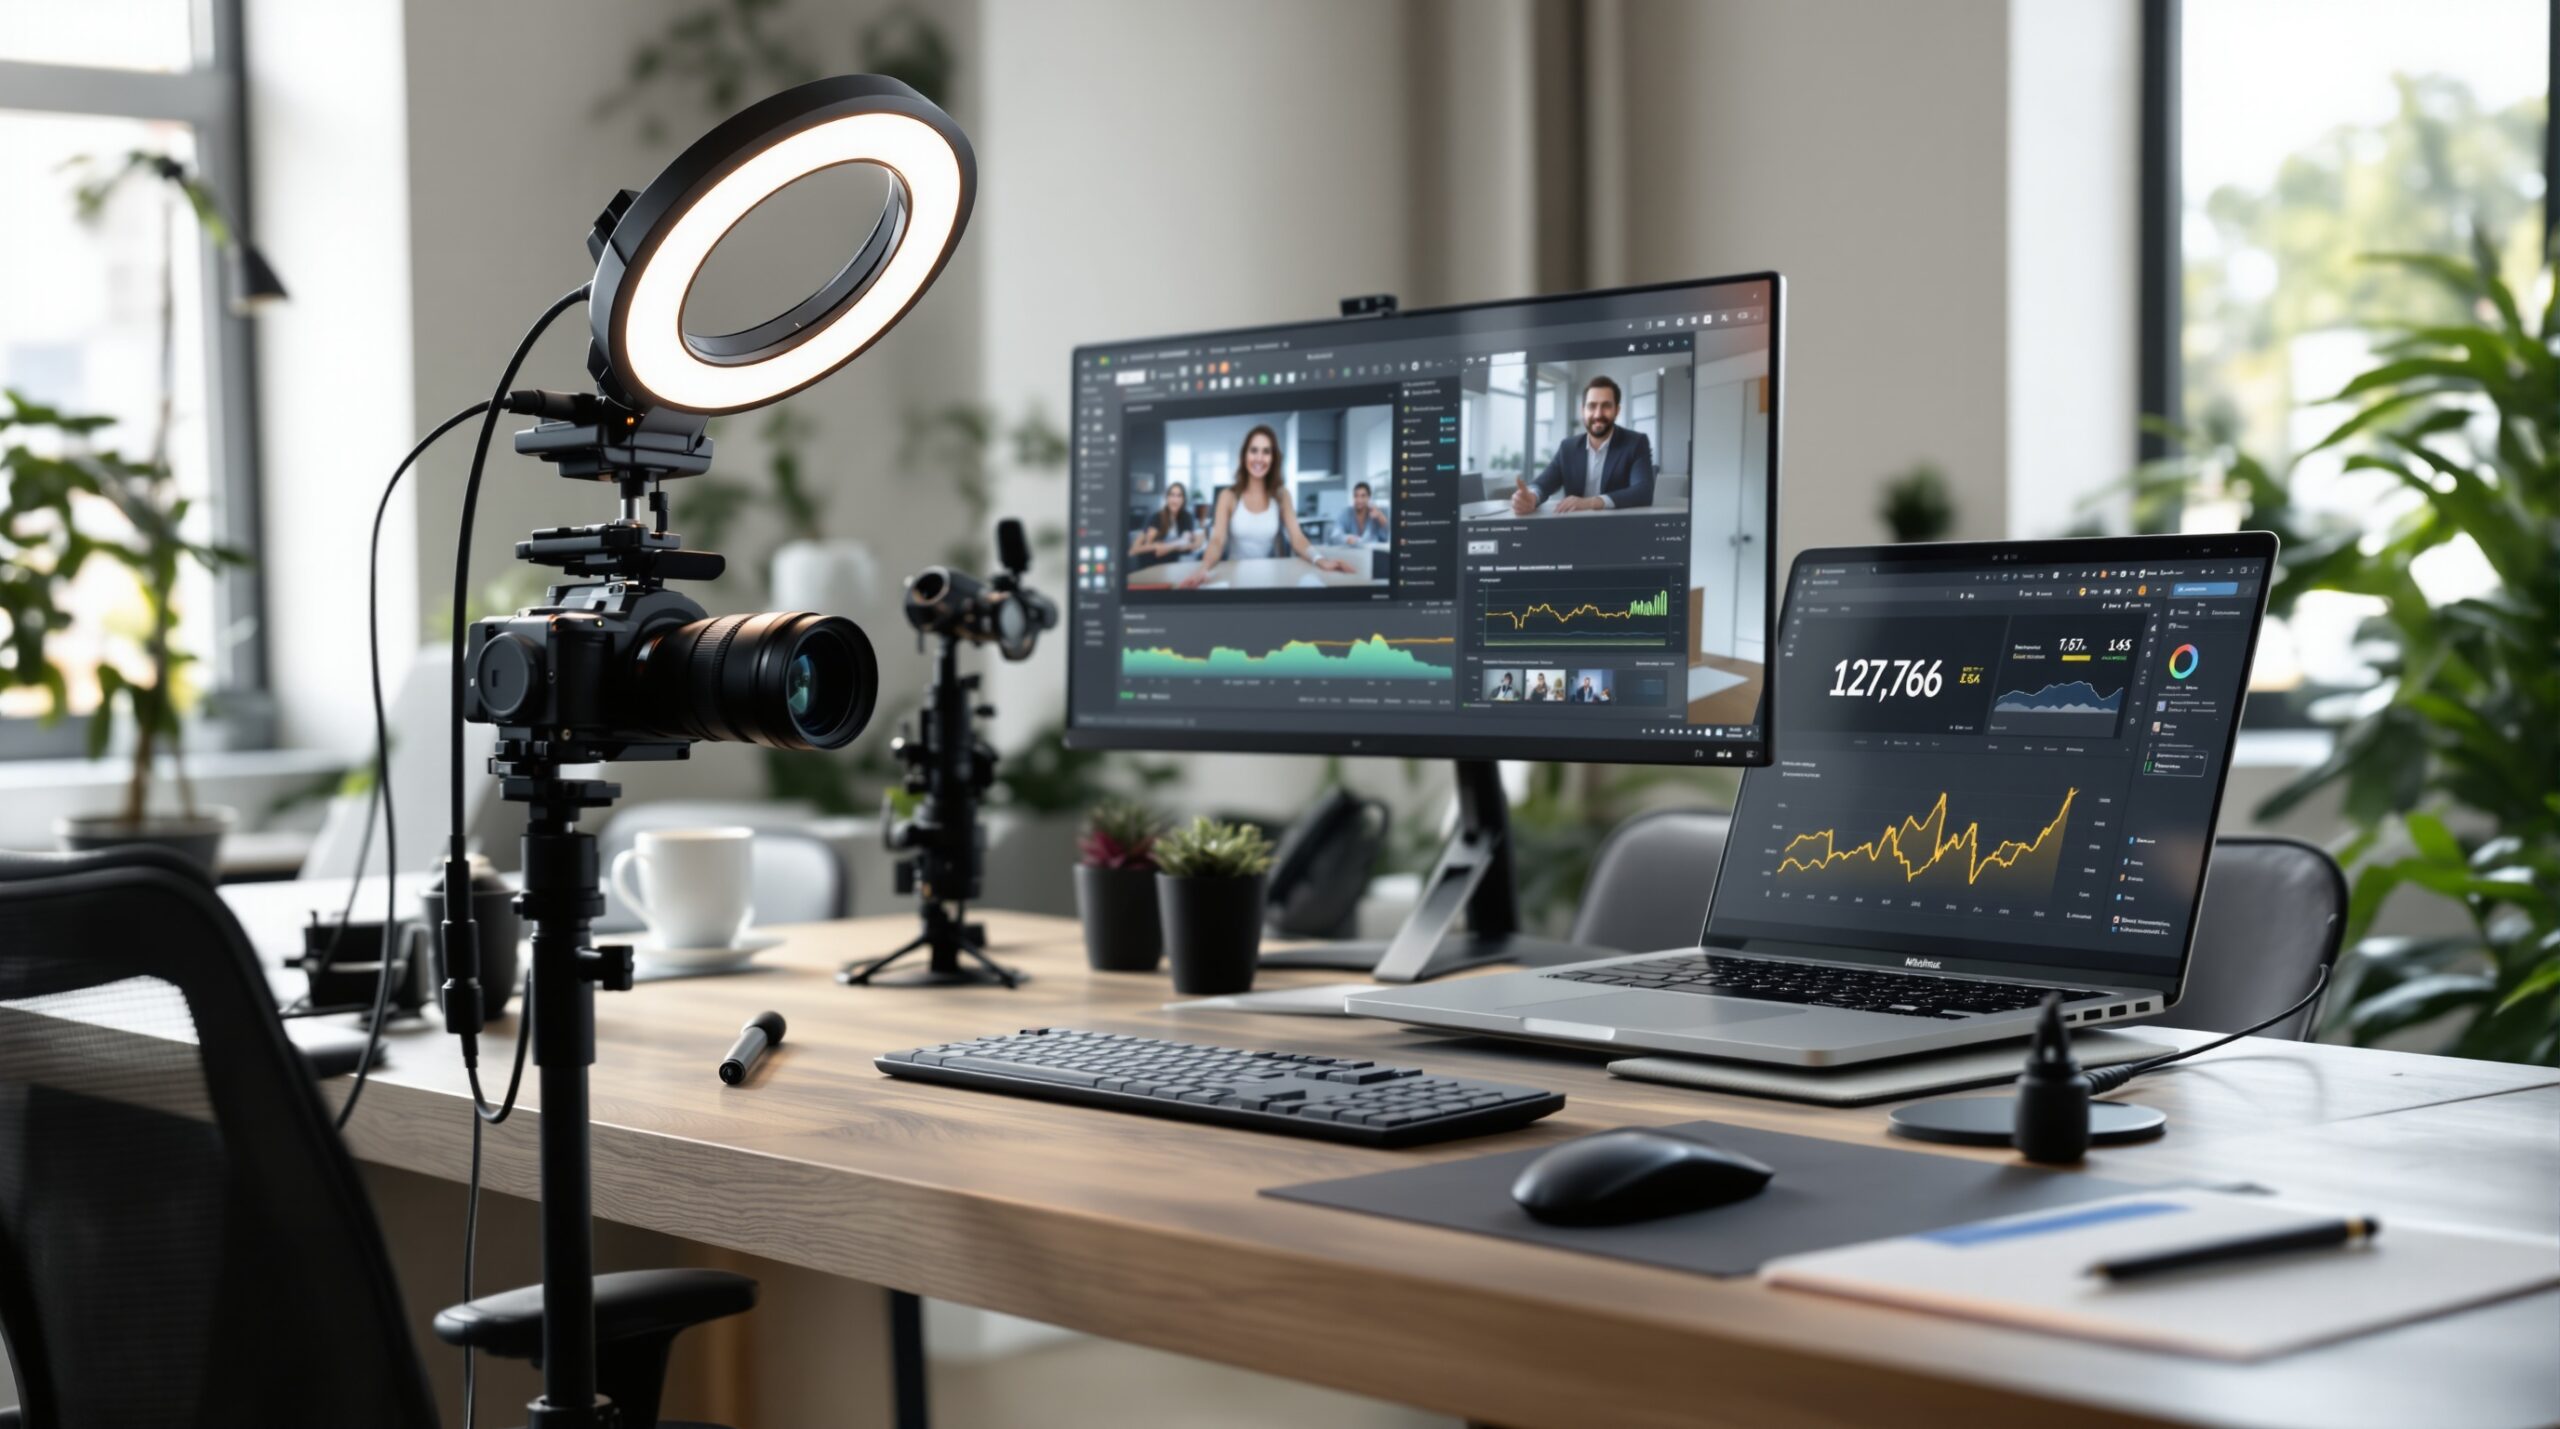
If your computer can run streaming software but feels fragile under load, keep the setup plain. One camera source, one audio source, and one scene are enough. A weak laptop often looks “fine” until background apps, browser tabs, and encoding settings start fighting each other.
For this path, smooth output matters more than a bigger number in the settings menu. A stable 720p stream is better than a shaky 1080p stream that drops frames every few minutes. Upload stability matters too: a steady 8–10 Mbps upload is a more useful target than the download speed people like to mention.
Standard beginner setup path
If you already have a usable PC and a mic that sounds clear, you can start with a basic webcam and a simple layout. This route fits gaming, teaching, commentary, screen-led demos, and most creator-led broadcasts. It still does not require fancy scenes or a stack of live-ops tools.
The advantage here is not production value. It is flexibility. Once the first streams run cleanly, you can add one thing at a time and see whether it actually improves the viewer experience. That makes upgrades rational instead of emotional.
Pick platform and content direction in the right order
The platform choice is not separate from the setup choice. A public gaming stream, a vertical live session, a screen-share teaching stream, and a private paid session do not ask for the same tools. If you pick the wrong order, you end up solving the wrong problem.
Use this rule: choose the platform first when the format is constrained by access, payment, moderation, or screen shape. Choose the niche first when the format is flexible and the same topic can work in more than one place. That single decision prevents a lot of false work.
Platform first or niche first?
Choose the platform first if the stream depends on how people enter, pay, or interact. That is true for private live sessions, moderated communities, and formats where delay tolerance is tight. In those cases, the platform defines what kind of stream is realistic.
Choose the niche first if you can run the same idea on several platforms. Then the topic should drive the setup. A clear topic keeps your first streams easier to plan, and it makes later platform changes less painful.
When the platform should come first
Platform-first thinking matters when control is part of the product. If you need access rules, chat rules, or payment handling built into the flow, the tool choice matters more than the logo on the homepage. That is one reason some creators eventually move to a single-purpose system instead of stitching together separate tools.
It also matters when latency is a business issue. If delay breaks the format, you do not want to discover that after the first public stream. The cheaper time to find a mismatch is before the audience sees it.
If your launch will later grow into private sessions or branded live experiences, the sister guide on streaming tips and launch habits helps with the next layer after setup. For now, the point is simpler: choose the format that lets your first stream work without improvisation.
Minimum setup by scenario
Minimum setup means the smallest working combination that can survive a real broadcast. Do not think of it as a wish list. Think of it as the shortest path to “live without panic.”
Internet
Upload stability is the first gate. A connection that is fast in a speed test but wobbly during live use will still hurt you. For many beginners, a steady 8–10 Mbps upload is enough to get started, but the real test is whether the line stays stable for a full hour at the time you plan to stream.
If your connection drops during a 10- to 15-minute test, do not go live yet. Fix the network, change the time, or reduce the load. One failed first broadcast can cost more confidence than a week of setup.
Camera
A webcam or a smartphone camera is enough for the first stream. Do not buy a camera only because camera shopping feels productive. Viewers usually forgive average video before they forgive unreadable audio, unstable frames, or a stream that keeps stalling.
Use the cleanest camera you already trust. If focus hunts every time you move or exposure shifts badly when you lean back, it is not ready. A stable face shot is better than a sharper image that distracts people.
Microphone
The microphone is the first quality lever that actually changes retention. If people have to ask you to repeat yourself, they do not stay long enough to care about the rest of the stream. Bad audio is expensive because it wastes every other improvement.
Room noise matters too. If the space is echoey, even a decent mic can sound thin or harsh. Softer surfaces, lower gain, and closer mic placement often fix more than a new camera would. That is why audio is the first place to spend attention, not the first place to spend luxury money.
Software
Start with the simplest software that can go live reliably. For most beginners, OBS Studio is the default because it is free, flexible, and easy to build around. There is no prize for using the heaviest setup on day one.
Keep the first configuration plain: one scene, one camera source, one microphone source, and one capture source if you need it. Add more only after the first few streams show a real need. That keeps your setup from becoming a hobby instead of a launch tool.
Minimum viable setup at a glance
| Setup element | Minimum workable version | What it prevents | Upgrade trigger |
|---|---|---|---|
| Internet | Stable 8–10 Mbps upload | Lag, dropped frames, reconnect loops | When tests still fail at the same hour after 2–3 tries |
| Camera | Phone camera or basic webcam | Blur, focus hunting, buying too early | When framing and light are already stable but video still distracts |
| Microphone | Simple USB mic or solid headset mic | Echo, low volume, viewer drop-off | When room noise is controlled and voice tone is still the weak point |
| Software | OBS Studio or an equivalent live app | Overcomplicated workflows | When you need routing, scenes, or moderation tools |
| Layout | One clean scene | Setup paralysis | After the core format proves it can hold attention |
If you want the deeper hardware and scene-building layer, the sister article on streaming tips goes into the practical next-step improvements after the first launch. Use that after you know which part of the setup actually limits you.
What to postpone until after your first 3 streams
Do not buy overlays, stream decks, custom alerts, multiple cameras, or a full lighting kit before you know the format works. Those items feel like progress because they are visible. In practice, they mostly delay your first live sessions and add more ways for something to fail.
Beginners often create a second shopping cart before they create a second stream. That is a bad trade. It can add days of setup time and still leave the core problem untouched. If the audio is unclear or the connection is weak, a prettier scene does not change the result.
Postpone anything that only makes the stream look nicer. Keep your money and attention on what helps the stream stay live, stay audible, and stay understandable. After three broadcasts, you will know much more about what is actually worth buying.
First broadcast checklist

Use a short checklist and stop there. Long pre-flight rituals feel careful, but they often hide the real issue: the creator has not tested the stream in the conditions that matter.
- Run a live upload test on the same connection and at the same time of day you plan to stream.
- Record three minutes of audio and listen back on headphones.
- Open the streaming app and confirm the scene loads without delay or error.
- Check framing, exposure, and mic level with your normal posture, not a staged one.
- Run one private test stream or unlisted dry run.
- Go public only after the first five checks pass twice.
A useful first-stream shape is simple: one topic, one opening promise, one end time. That is enough structure to keep the stream moving without turning it into a script. It also gives you a clean baseline for the next session.
Common beginner mistakes that break the first stream
The most common failure is still audio. Bad sound makes the stream feel unfinished even if the image is fine. The second is trying to force a resolution the machine cannot hold. The third is packing the scene with extras before the core session works.
There is also a planning mistake that does not show up in specs: the stream starts without a rule for what to do when the chat gets active, the audience asks a question, or moderation becomes necessary. That is why some beginners later want a more controlled system for live access and payments. If the platform has to handle those things, it should do so cleanly, not as an afterthought.
The cost of these mistakes is concrete. You lose hours fixing the setup, you lose the first impression, and you often lose the motivation to schedule the second stream. That is why the launch should be stripped back until the stream can survive a normal hour of use.
What to check after 1–3 streams
After the first few streams, do not ask whether the broadcast was “good.” Ask what failed, what repeated, and what blocked the session. That is the only useful review at this stage.
Check four signals: audio complaints, dropped frames, confusion in the first minute, and whether viewers stayed long enough to reach the main point. If none of those show up, your setup is probably stable enough to shift attention toward content. If they do show up, fix the part that failed twice before you add anything new.
Here is the healthy state you are aiming for: the stream starts on time, the voice is easy to hear, the opening is clear, and you know which one upgrade would remove the most friction. That is a much better position than trying to look polished while the baseline is still shaky.
If viewers keep asking the same thing early in the broadcast, the opening is too slow or too vague. If a technical hiccup drives them away, the setup still needs work. If chat is active but the topic drifts, the problem is structure, not equipment.
That is why the first week matters so much. Three short test cycles can save you from months of repeated guesswork. They also tell you whether you should improve audio, simplify the layout, or move to a better platform fit before you build habits around the wrong setup.
If your next step is choosing between a stronger gear path and a cleaner live-video business model, the article on how to stream like a pro shows what changes once the basic launch is already stable. Until then, do not try to solve professional problems with beginner tools.
Where the first stream should lead next
The best next move is not a bigger purchase. It is a better repeat. Run one test stream, trim one weak part of the setup, and write down the single upgrade that would remove the most friction. That sequence keeps the process grounded in evidence instead of impulse.
For a simple seven-day launch, set one goal, do two test broadcasts, and publish the third only after you have fixed the problem that showed up twice. That is usually enough to move from research mode into real streaming mode without pretending the setup is finished.
If you want to compare the step-by-step launch order with the sister pages that go deeper into setup and presentation, start with the cluster guide on basic streaming setup, then return here when you are deciding what to buy now and what to leave for later. That keeps each article focused instead of repeating the same beginner basics.
For creators who already know they will need moderation, direct payments, and a branded live space, the next layer is a product that can hold those workflows without stitching together extra tools. That is the point where the stream stops being a hobby test and starts becoming a repeatable service.
Where Scrile Stream fits this picture
Once a stream moves beyond a casual test and starts needing payments, moderation, and a branded space, the setup problem changes. That is where Scrile Stream fits: it is a white-label live streaming platform for teams that want private and group video chat, direct payments, and their own domain without stitching together separate tools.
For creators, agencies, and niche live-video businesses, that matters after the first working stream is already stable. At that stage, the question is no longer “can I go live?” but “can I turn this into a repeatable service without adding avoidable friction?”
Frequently asked questions
What if my internet is fine for browsing but not for live video?
Treat browsing speed as irrelevant. Run a live upload test at the exact time you plan to stream. If the connection drops during a 10- to 15-minute test, do not go live yet.
What should I do if my laptop is weak?
Lower the resolution, close background apps, and strip the setup down to one camera, one mic, and one scene. If the laptop still overheats or drops frames at 720p, switch to the phone path or replace the device before you add scenes.
When is audio the thing to upgrade first?
Upgrade audio when viewers keep asking you to repeat yourself, the room sounds hollow, or the mic picks up keyboard noise more than your voice. That fix usually matters more than a better camera.
How do I know the platform choice is wrong?
If the platform makes it hard to stream the format you actually want, or forces workarounds for access, chat, or payments, it is the wrong fit. The mismatch usually shows up in the first three sessions.
What should I do if the first stream feels too bare?
Do not add overlays first. Add one clearer opening, one better mic setting, or one stronger call to action. Bare is better than broken.
When should I stop treating it as a test?
When three streams in a row run without the same technical issue appearing twice. At that point, the format is stable enough to build a schedule and improve the content instead of the setup.

Builds SaaS platforms for content creators, agencies, and entrepreneurs. Writes about the business mechanics behind creator-economy products and how custom software actually ships.