Quick answer
If your onlyfans lighting setup looks fine in the room but dull on camera, fix placement before buying more gear. Start with one continuous light, then choose by shot type: ring light for fast close-ups, softbox for softer portraits, LED panel for flexible mixed shoots, and natural light when the window is stable. The best setup is the one that cuts retakes, keeps skin readable, and gives you the mood you actually want.
What an onlyfans lighting setup is really supposed to do
An onlyfans lighting setup is not just a lamp in the corner. It is the part of the shoot that decides whether the viewer sees detail, shape, and tone clearly enough to trust the content. On a paid page, that matters because a frame that looks accidental can make the offer feel cheaper before anyone reads the caption.
The job is simple to say and harder to get right. Good light should keep skin readable, preserve depth in the background, and avoid the flat “phone in a bedroom” look that gets expensive content treated like casual content. That is why a lighting decision should start with the result you want, not with the product category.
In practice, the strongest setups do three things at once: they improve clarity, they control mood, and they make the shoot repeatable. That last part is easy to miss. A setup that only works once is not a system; it is a lucky frame.
What goes wrong first when the setup is wrong
Most creators do not lose quality because they lack expensive gear. They lose it because the light is too close, too frontal, or too variable for the room. A ring light aimed straight at the face can make skin bright while the background drops into a dead zone. A window shoot can look beautiful at 2 p.m. And flat an hour later.
The cost is bigger than one bad photo. A weak setup usually adds 10–20 minutes of retakes, then another round of edits to hide glare, shadows, or a color cast. That is the real drain: you spend time rescuing a frame instead of producing one that already looks ready to sell.
That is also why the “best light” question is too vague. The better question is: do you need more softness, more clarity, more room coverage, or more consistency? Once you answer that, the gear choice becomes obvious.
When the room looks good but the camera does not
One common mismatch shows up in bedrooms with decent daylight or a bright lamp, where the scene feels fine to the eye but dull on camera. The camera compresses depth more aggressively than human vision, so a setup that seems pleasant in person can still look flat in the frame.
A quick fix is to move the subject farther from the wall and raise the light a little above eye level. That creates separation, which is what makes the image feel more premium. The room can still be simple; it just needs shape.
When retakes keep eating the session
Another signal is repetition. If you keep reshooting the same angle because shadows fall in the wrong place or the color keeps shifting, the setup is not stable enough for fast content production. At that point, a better light often helps less than a better layout.
Creators who shoot in batches notice this first. The first frame looks fine, the second frame looks different, and by the third frame the shoot feels like a repair job. A repeatable setup should reduce that drift, not add to it.
When a setup looks polished on one shot and fails on the next
This is the hidden cost of choosing gear before choosing the frame. A light that works for a close portrait can fail for a reclining angle or a full-body clip. In other words, the setup is not really bad; it is matched to the wrong shot.
If your content includes stills, clips, and live sessions, use the shot that happens most often as the deciding trigger. That is the piece of the workflow that has to be easy enough to repeat under pressure.
Choose by shot type, not by product label
The fastest way to choose an onlyfans lighting setup is to map the light to the content you actually shoot. That sounds basic, but it is the step most generic guides skip. They list ring lights, softboxes, LEDs, and natural light as if they are interchangeable. They are not.
For a creator, the question is not “what is best in theory.” It is “what gives me the look I want in the space I already have.” That is why this guide keeps returning to room size, movement, and consistency instead of hype labels.
| Trigger | Best first light | What it solves | Where it fails |
|---|---|---|---|
| Close selfies and portrait shots | Ring light | Fast, even front light with easy setup | Can look direct, circular, and flat if placed too close |
| Soft bedroom video | Softbox | Gentler shadow shape and a more premium feel | Takes more space and slows down room changes |
| Mixed photo and video | LED panel | Flexible placement and easy dimming | Skin tone can drift if color temperature is not locked |
| Stable daylight near a window | Natural light | Free, flattering light with a soft base look | Changes with clouds, time of day, and window angle |
Photo-first content
If your page is mostly still images, start with the setup that gives you the cleanest face and the least editing. A ring light can do that quickly, but it also gives many creators the same front-lit look. A softbox or a single LED panel usually gives a little more shape, which is useful when you want paid content to feel less like a phone snapshot and more like a deliberate set.
For photo batches, repeatability matters more than complexity. If you can stand in the same spot and get the same shadow pattern in ten images, your editing load drops and your feed looks more coherent.
Video-first content
Video rewards stability even more than stills do. Continuous lighting is usually the easier choice because you can see the effect before you hit record. A softbox works well here because it spreads light across movement, while an LED panel gives you enough flexibility to adjust for posture, distance, or a second camera angle.
That is also why a light that looks great in a pause frame can still fail in motion. If the subject moves, the light has to hold up across the entire clip, not just at the start.
Mixed photo-video content
Mixed content usually needs the most disciplined setup. LED panels often make sense here because they adapt quickly, but only if you keep the settings consistent. A session with two different temperatures can look like two different rooms, even when nothing else changed.
When creators try to solve everything with one oversized light, they often end up with a setup that is bulky but not more useful. One main source plus a small fill source is often enough. That gives you control without turning the room into a studio you dread setting up.
How each light changes clarity, mood, and professionalism
The best way to compare light types is not by brand or price. It is by what they change in the frame. Clarity is about whether details are visible without harshness. Mood is about whether the image feels soft, intimate, bright, or dramatic. Professionalism is the combined effect: does the content look intentional?
That framework is useful because it exposes trade-offs. A very bright setup can improve clarity but flatten mood. A very soft setup can improve mood but hide shape. A strong onlyfans lighting setup usually balances both instead of chasing one at the expense of the other.
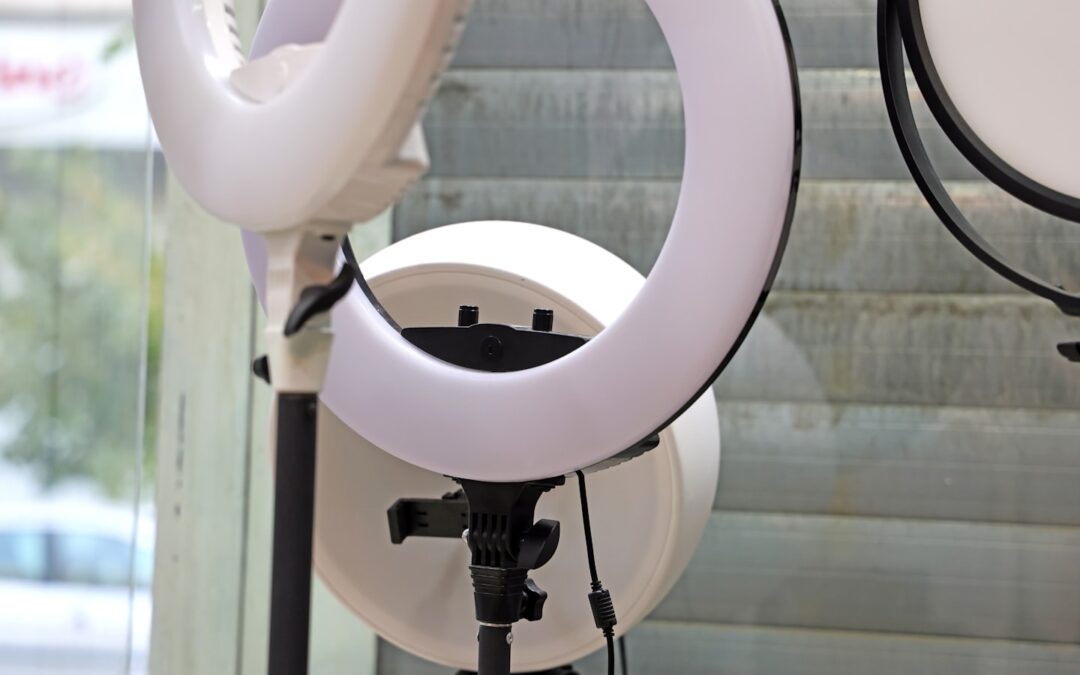
Ring light: speed and evenness first
Ring lights are popular for a reason. They are easy to place, easy to preview, and easy to repeat. For close-up shots, they give a clean front light that helps a creator look polished fast, especially when the shoot has to happen in a small room or on a tight schedule.
The trade-off is obvious once you use it a few times. Put too much weight on the ring light and the frame starts to lose depth. The face stays readable, but the background can become plain and the image starts to look like it came from the same template as every other creator using the same setup.
If you use one, keep it a little farther back than the default “phone tutorial” distance and raise it slightly above eye level. That small shift often does more for the result than buying a bigger ring.
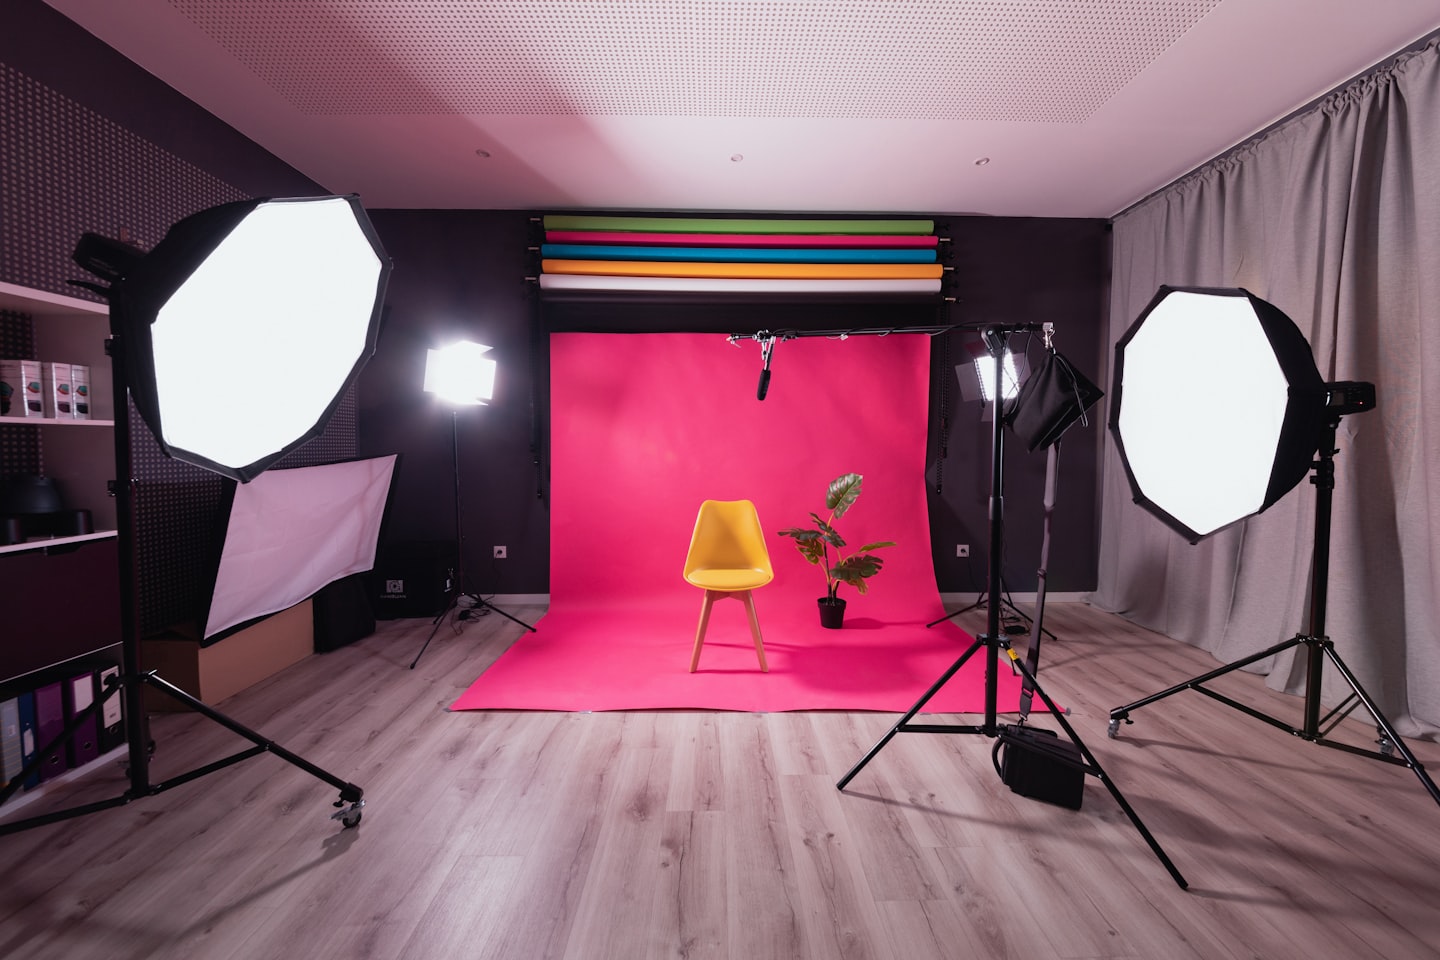
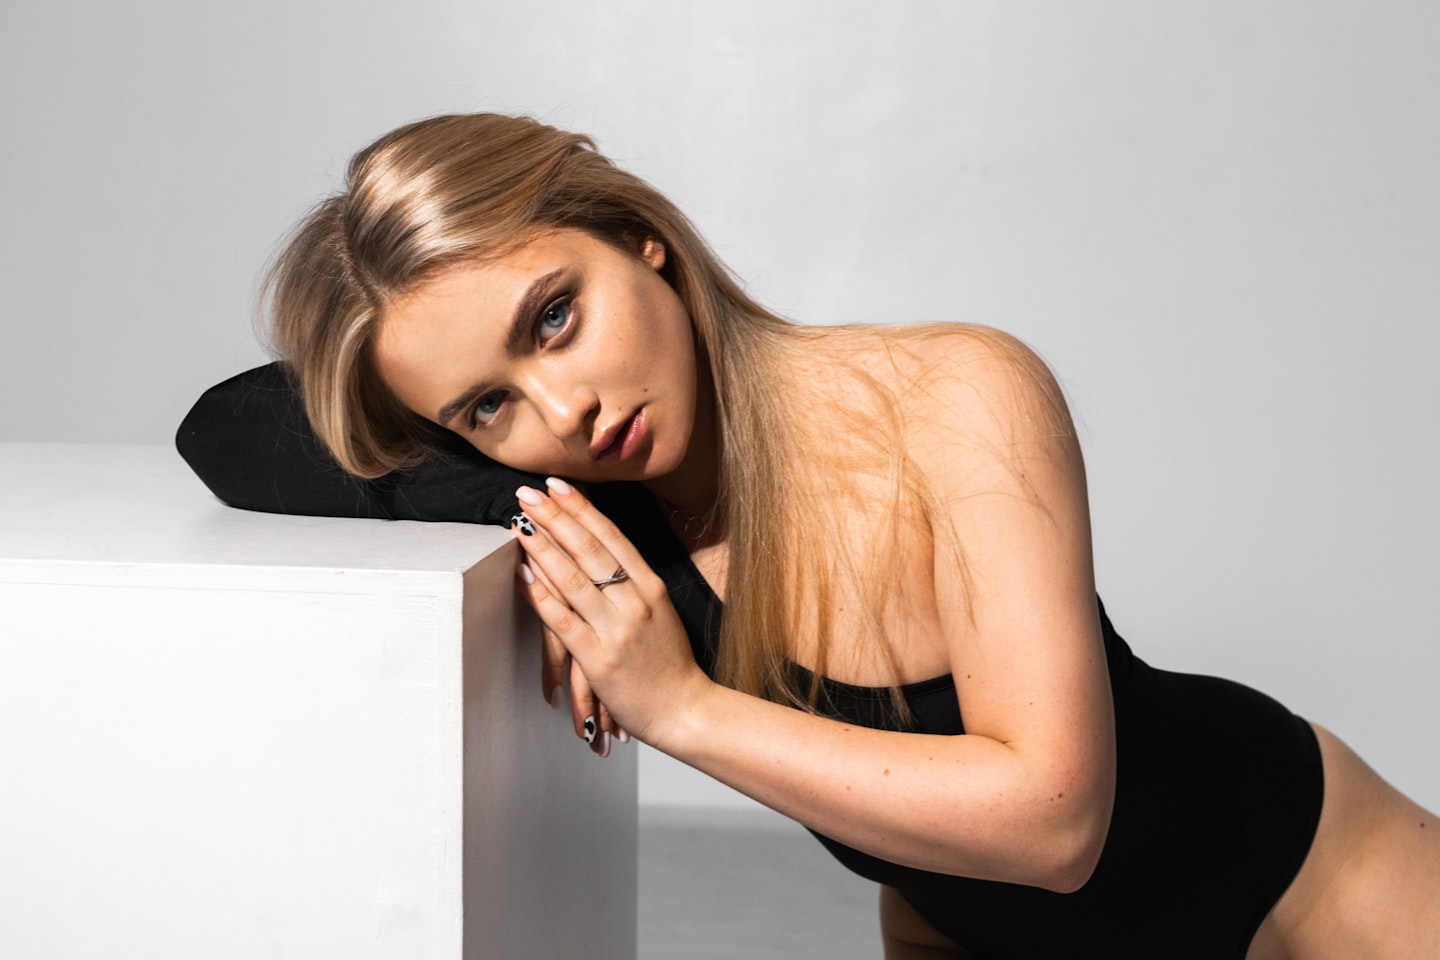
Softbox: softness and shape first
Softboxes are stronger when you want a calmer, more premium look. They spread the light through diffusion, so the shadows are gentler and the face usually looks less harsh. That makes them useful for portraits, seated clips, and sessions where the goal is to look intentional rather than bright for brightness’ sake.
The limit is space. A softbox wants room to sit, room to angle, and room for the subject to move without hitting the edge of the setup. In a cramped bedroom, that can matter more than the image quality itself because a bulky stand slows everything down.
Softboxes are a better fit when you can leave a corner in place for repeat shoots. If you are clearing the room every time, they become more of a chore than a solution.
LED panel: flexibility and control first
LED panels are the most versatile option when the shoot changes from day to day. They can be dimmed, repositioned, and used as a main light or a fill light. That makes them especially useful for creators who alternate between selfies, clips, and a few wider shots in the same session.
The catch is consistency. Two panels set to slightly different temperatures can create a skin-tone mismatch that is hard to notice in the room and very visible on screen. If you use LEDs, lock one temperature per session and keep it there unless you are intentionally changing mood.
According to the NIST. Color measurement and consistency matter because small shifts can change how a scene is perceived. That is exactly the kind of issue that turns “good enough” lighting into lighting that actually feels premium on camera.
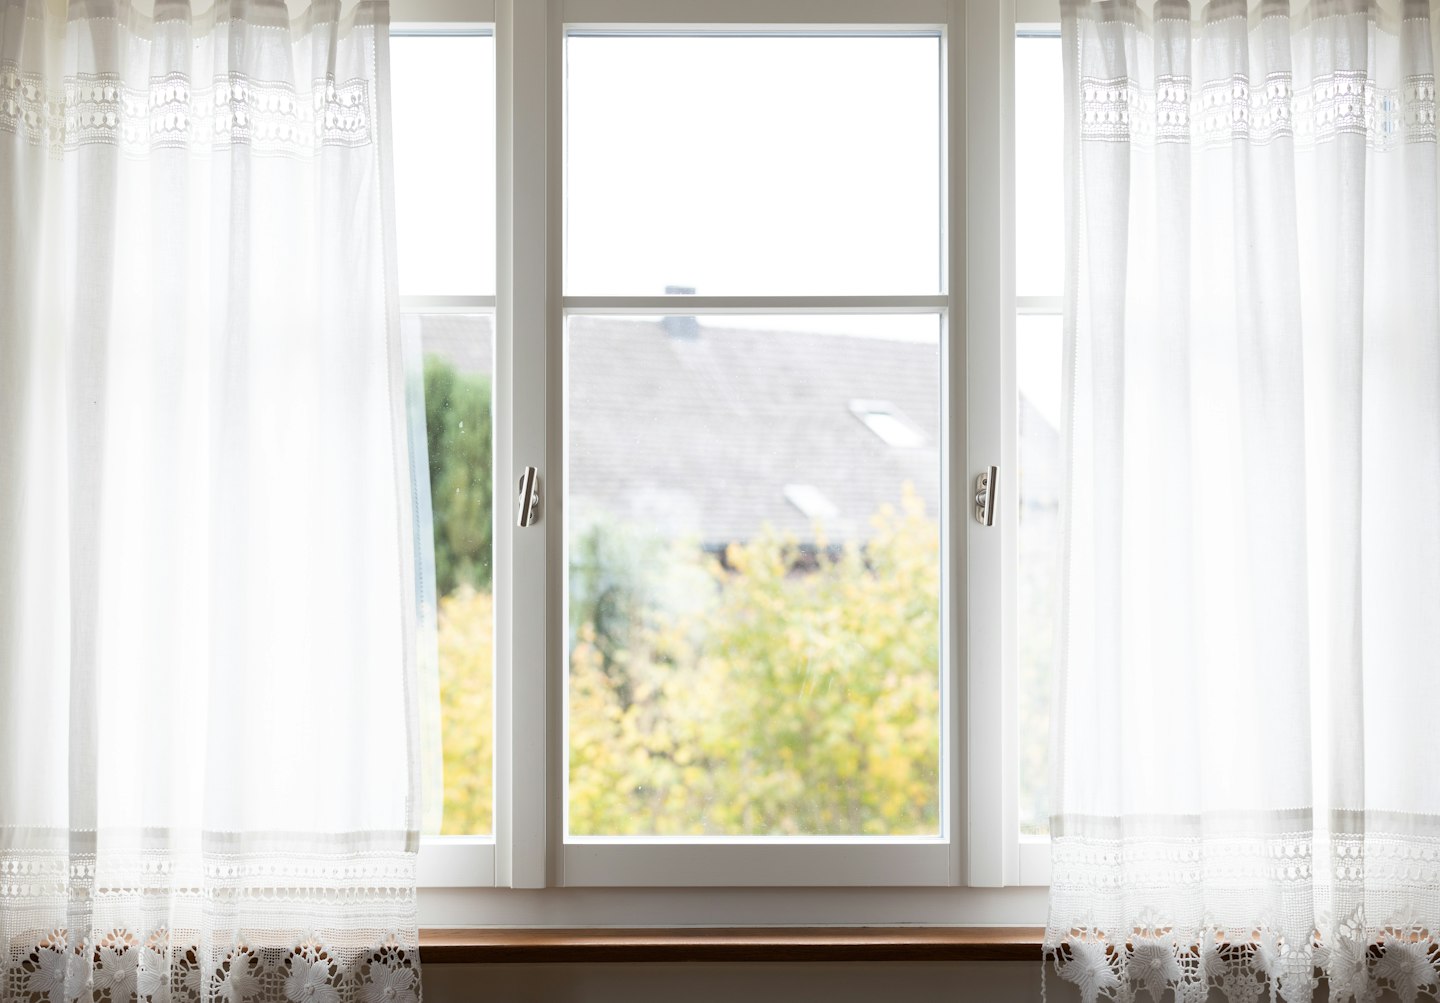
Natural light: flattering, but only when it stays stable
Natural light is still one of the best starting points when the window is reliable. It is free, usually soft, and often flattering in a way that makes skin look less overworked. For a creator who shoots in the same window every time, it can be the easiest path to a clean look.
The downside is that natural light is not under your control. Clouds, season changes, and the direction of the sun all alter the frame. A shot that looks warm and gentle at one hour can turn gray or high-contrast later, which is why daylight setups are best treated like scheduled sessions, not opportunistic ones.
What to fix before you buy a second light
Buying more gear is not always the next move. In many rooms, the real problem is position. If the subject sits too close to the wall, light bounces back and removes depth. If the camera is too close to the source, the face can look bright while everything else falls away. That is a setup issue, not a shopping issue.
Before you add another light, check four things: distance from the wall, angle of the source, distance from the camera, and whether the background is catching spill. Those four checks solve more bad frames than most accessory upgrades do. They also save money because you stop treating every flaw as a hardware problem.
Small rooms need placement discipline, not bigger stands
In a room under about 10 feet wide, the setup can become crowded very quickly. A huge stand can force the camera into the wrong position, and that usually does more damage than the light itself. A compact LED or a smaller softbox often works better because it leaves the room usable.
The biggest win in a small room is separation. Pull the subject a little farther from the wall, angle the light slightly off-center, and let the room show some depth. That single adjustment can make the same gear look noticeably more expensive.
Full-body shots need wider coverage than a close-up light gives
Full-body content exposes a common mistake: a light that only covers the face. The upper body looks fine, then the lower half falls into a dead zone and the frame feels inconsistent. This is where a softbox or paired LED panels often beat a single front-facing ring light.
If the camera moves, the light has to support the movement. That means you need wider coverage or a second source, not just more brightness. The shot should stay readable from top to bottom.
A note on the kind of consistency paid content needs
Paid content is judged differently from casual content. The viewer is not just asking whether the frame is visible; they are asking whether the creator looks in control. That is why repeated color shifts, harsh glare, and patchy backgrounds matter more here than they do in everyday phone photos.
There is a useful benchmark from Harvard Business School on consumer perception: when presentation looks more intentional, trust rises. You do not need a business-school lecture to see the point in a creator workflow. A cleaner frame makes the content feel worth paying for.
How to test an onlyfans lighting setup without guessing
Testing works best when it stays simple. You do not need ten photos and a spreadsheet full of notes. You need a repeatable way to compare one setup against another so you can see which one saves time and produces the best frame.
Use the same camera, the same spot, and the same pose. Then change one thing at a time: light distance, light height, or background distance. That prevents the classic mistake of changing three variables and learning nothing from the result.
| Field | What to record | Why it matters |
|---|---|---|
| Light type | Ring light, softbox, LED panel, or natural light | Shows which source actually produced the cleanest frame |
| Distance | Feet or steps from subject | Explains why the same light looked softer or harsher |
| Temperature | Warm, daylight, or a fixed Kelvin value | Helps keep skin tone stable across shoots |
| Background spill | Clean, mild spill, or obvious washout | Shows whether the room still has depth |
| Retakes | How many extra takes were needed | Tells you whether the setup is actually faster to use |
Use a three-shot check
Three shots are usually enough to see the pattern. One close, one medium, one wider. If the setup only works at one distance, it is too fragile for a creator who needs to move fast.
The best result is not the prettiest one in isolation. It is the one you can repeat on another day without rebuilding the whole room.
Track clarity, mood, and spill separately
Do not score the light as “good” or “bad” in one lump. Split it into three questions: can you see the detail, does the mood match the content, and does the background stay controlled? That gives you a real read on whether the setup is serving the page or just looking bright.
This is also where better systems beat better guesses. Once the pattern is recorded, you can reproduce the frame instead of hoping the room behaves the same way next time.
Check one source that explains consistent light behavior
If you want a technical baseline for why color and consistency matter, the Color Rendering Index is a useful starting point. For creator work, the point is not to become a lighting engineer. The point is to understand why two lights that both look “bright” can still render skin differently on camera.
Setup combinations that actually work in a creator workflow
Real shoots are usually combinations, not single lights. That is the part most product pages skip because it is harder to sell a system than a device. But for a creator, the combination matters more than the label. A ring light can be fine as a key light, a softbox can handle a wider look, and an LED panel can fill or shape the frame.
The useful question is which pairing gives you the least friction for your most common content. That usually produces a better result than chasing the biggest kit you can afford.
Soft portrait look
A soft portrait look works well when you want the page to feel calmer and more premium. Use one softbox slightly off-center and keep the subject away from the wall so the background has depth. If the face is too bright, lower the source before you add more power.
This is a good choice for creators who want the feed to feel consistent and less harsh. It rewards a planned session and usually looks more controlled than a straight ring-light shot.
Clean video look
A clean video look usually comes from one strong continuous source and a second small fill if needed. An LED panel makes sense here because it is easy to tune while you record. You can keep the main light stable and adjust the fill only if shadows get too deep.
This setup is useful when the content mixes talking, pose changes, and a little movement. It is not the cheapest path, but it is one of the easiest to repeat.
Flexible mixed setup
If your workflow changes every session, use the most flexible light you can control well rather than the most dramatic one you can buy. An LED panel plus a simple reflector is often enough. It gives you a fast adjustment path without forcing the room into one fixed layout.
That flexibility is valuable when the goal is not just to shoot, but to keep shooting without rethinking the room every time you hit record.
Window-plus-light setup
When the daylight is decent, a window can do most of the work and a small LED can carry the shadows. This is a strong low-friction option because it uses the free light first and the artificial source only as backup. It also keeps the setup lighter in rooms where stands are annoying to move.
If the window changes too much during the day, the setup stops being predictable. At that point, switch to the more stable continuous source and use the window only as a bonus.
When a popular lighting choice is the wrong choice
A popular setup is not automatically the right setup. The wrong choice usually shows up as friction: more retakes, more editing, more room rearranging, and more second-guessing. That is the cost of using a light because it is familiar instead of using it because it fits the shot.
Once you know where each light fails, the decision gets easier. You are no longer buying a category; you are avoiding a predictable problem.
When a ring light is the wrong answer
A ring light becomes a weak choice when you need depth, side coverage, or full-body balance. It works best close-up. As soon as the subject moves farther back or the camera angle changes, the image can look too direct and too uniform.
If you keep one in the kit, use it as a fast tool, not the whole system. That keeps it useful without locking the page into one flat visual style.
When a softbox is the wrong answer
A softbox is a bad choice when the room is tight or when the setup has to move quickly between shots. The light itself may be excellent, but the stand and diffusion take space and slow the workflow. In a cramped room, that can matter more than softness.
It is also less friendly if you clear the space after every session. A softbox works best when it can stay in place and pay off over repeated use.
When an LED panel is the wrong answer
LED panels fail when the color is not controlled. Two mismatched panels, or one panel changed mid-session, can make skin tones jump from shot to shot. That kind of inconsistency is subtle in the room and obvious on screen.
Use one temperature per session and keep the settings written down. If you need mood changes, make them deliberate instead of accidental.
When natural light stops helping
Natural light becomes the wrong answer when the schedule is unstable. If clouds, sunset, or room orientation keep changing the frame, you are no longer saving time. You are gambling on the weather.
The fix is not to abandon daylight forever. It is to treat it like a planned shooting window and switch to a continuous light once the inconsistency starts costing you retakes.
What good lighting changes in paid content performance
Good lighting should do more than look nice. It should reduce the number of failed frames, cut cleanup time, and make the content feel more premium at first glance. If it does not change those things, the setup is decorative, not useful.
Think of it as a three-part check. Clarity tells you whether the viewer can see what matters. Mood tells you whether the content feels aligned with the tone. Professionalism tells you whether the setup looks intentional enough to support a paid page.
Those three things are also why presentation and monetization are linked. A better visual standard gives you more room to discuss pricing, retention, and offer structure in a stronger way, which is part of the logic covered in Subscription Pricing Strategies That Increase Retention and Creator Pricing Models That Fit Your Audience.
There is also a simple emotional truth here. A creator who spends twenty minutes fixing shadows before every shoot feels friction before the session even starts. A creator whose setup works twice in a row feels in control. That difference shows up in consistency, and consistency is what makes a page feel established instead of improvised.
What a repeatable setup looks like in real use
A repeatable setup is not fancy. It is a setup that gives the same answer on Monday and Thursday. You know where the camera goes, where the light goes, and what the result will roughly look like before you hit record. That predictability is the real luxury.
In real terms, that means fewer retakes, less editing, and fewer moments where a shoot turns into room rearrangement. It also means you can batch content instead of building a new scene every time.
| Metric | Target | What failure looks like |
|---|---|---|
| Retakes per session | 1–3 extra takes max | Five or more because the frame keeps shifting |
| Editing time | Short cleanup, not rescue work | Heavy color correction or shadow masking |
| Frame consistency | Similar look across 3–5 posts | Every post looks like a different room |
| Viewer response | Comments on clarity or polish | Questions about why the image looks dull |
Use the same setup twice before changing it
One shoot is not enough to judge a setup. Use it twice with the same framing before you decide it works. If the second session is still smooth, the setup is probably stable enough to keep. If it falls apart when the room or your posture changes slightly, it needs another adjustment.
That is the simplest test of whether the system is actually helping. A setup should reduce friction, not create a new hobby out of moving lamps around.
Notice the shift from “make it work” to “make it repeat”
The real upgrade is not that the content suddenly looks cinematic. It is that you stop improvising every session. The light stops being the problem, so you can focus on the shot, the offer, and the rest of the page.
That is the kind of improvement creators feel immediately: less hesitation, fewer failed takes, and a stronger sense that the content matches the price.
One more reference point for quality control
For a broader standard on consistency and controlled production, the IBM Institute for Business Value is useful as a reminder that repeatable processes reduce waste. The principle carries over cleanly here: once the setup is repeatable, you stop paying the hidden tax of guesswork.
How Scrile Connect fits when the visual standard is already better
Once the frame looks clean, the next bottleneck is usually control over the business layer. A creator can improve the visual side and still lose margin if the platform forces them to work around someone else’s rules. That is where Scrile Connect fits: a white-label platform for creators and teams that want their own branded site, direct subscription control, pay-per-view, tips, paid messages, and a setup that matches the premium look they already built.
It is not a replacement for a lamp or a lighting plan. It makes more sense when the content is already strong enough that the monetization flow should stop feeling generic. For teams and solo creators moving from “good content” to a more owned business, it helps keep the presentation, pricing logic, and audience experience in one place.
Subscription Pricing Strategies That Increase Retention
Product-fit signal: Creators who want to launch their own fan monetization website; Entrepreneurs building a subscription-based content platform
Ready to build the setup behind this?
If this is the operating problem you need to solve, use the product page as the next step. It shows where build your setup fits and what the platform covers beyond a single payment widget.
Frequently asked questions
Is a ring light enough for most OnlyFans content?
It is enough for fast close-ups and simple selfies, but not for every format. If you shoot full-body clips, wider scenes, or anything that needs depth, a softbox or LED panel usually gives a better result.
What should I buy first if I am on a small budget?
Buy one continuous light that you can dim and position easily. In a small room, placement and control matter more than a big kit, so a single flexible source is usually a better first step than a bundle of accessories.
How do I know whether natural light is still worth using?
Keep using it if the look stays stable for the whole session. If the frame changes too much with clouds or time of day, it starts costing you retakes and is no longer the cheapest option in practice.
Why does my paid content look flat even when it is bright?
Brightness alone does not create shape. The issue is usually distance from the wall, angle of the light, or lack of separation between the subject and the background.
Do I need matching color temperatures on all my lights?
Yes, unless you are intentionally creating a mixed mood. When temperatures clash, skin tone and background color can shift from shot to shot, which makes the page feel less controlled.
What should I fix before I buy a second light?
Check the camera angle, wall distance, light height, and background spill first. Those four adjustments solve a surprising number of bad frames without adding more gear.
Builds SaaS platforms for content creators, agencies, and entrepreneurs. Writes about the business mechanics behind creator-economy products and how custom software actually ships.